Summer times are all about enjoying the outdoors, be it in the garden, out camping or for the more adventurous hiking holidays. I adore hazy summer days and alfresco cooking and the first chance I get to go out doors, I am happy to pack a picnic basket, a blanket and a portable barbecue and set off for the day.
The smell of the charcoal on a hot summers day brings distance memories of brownie camp and girl guides where we we went on our annual camping trips. In those days putting up our antiquated tents was painstakingly difficult, not in this day and age with all the new easy to put up waterproof tents and camping equipment that are now readily available, making camping and outdoor holidays so much more fun and civilised.

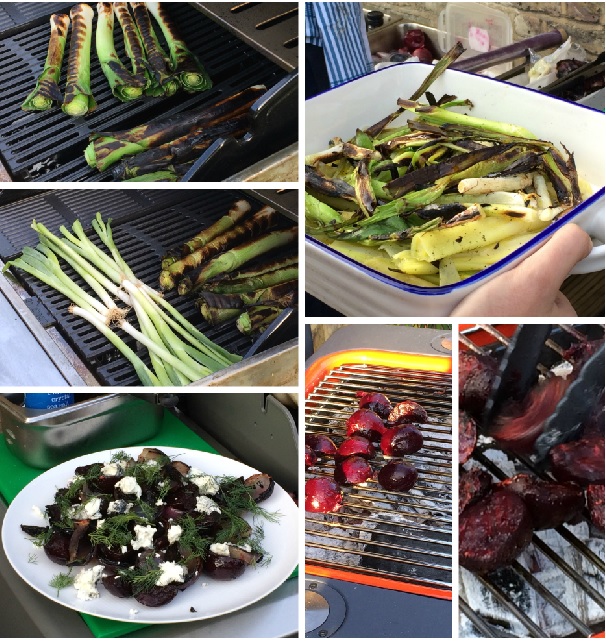
As a brownie, I remember trying to cook veggie sausages and baked beans on the trangia cooking stove in the aluminium pans, which proved to be a challenge in it self. I have strong memories of surviving on a packet of biscuits that I used to sneak into my rucksack. As an adult, my outdoor cooking skills have improved by far and I love barbecuing a variety of fruits and vegetables and making homemade mushroom and veggie burgers on the barbecue. Most of all I love cooking desserts on the barbecue, charcoal roasted bananas in their skins, toasted marshmallows sandwiched between two digestive biscuits and cinnamon baked apples. Nothing beats opening a baked apple foil parcel and adding dollops of Greek yoghurt before devouring the whole thing. My baked apple recipe is fail safe and drool worthy which would be perfect to create on any camping holiday or home barbecue.


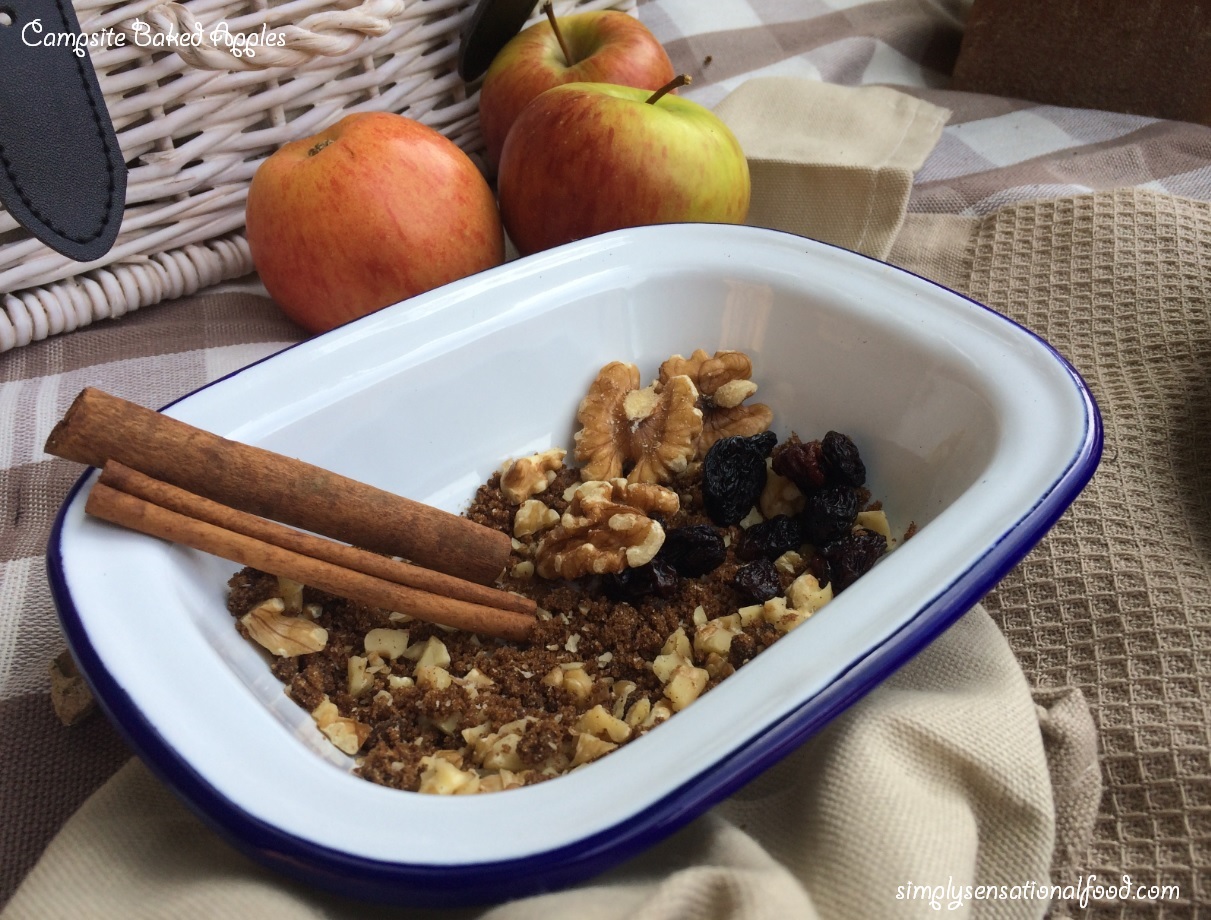
Campsite Baked Apples
Cinnamon spiced apples baked on charcoal and served with greek yoghurt.
Ingredients:

- 4 Braeburn apples
- 2 tablespoons Dark Brown Sugar
- 1/2 teaspoon Cinnamon
- 2 tablespoons Crushed walnuts
- 1 tablespoon Sultanas
- 1/2 tablespoon Butter
- 4 tablespoons Fat free Greek Yoghurt
Method:
1. Light the barbecue.2. In a bowl add the brown sugar, cinnamon and crushed walnuts and sultanas and mix together and keep aside.3. Wash the apples and remove the core.4. Fill the cavity of the apples with the walnut, brown sugar mixture packing it tightly.
 5. Get a double piece of foil square and place the filled apple on it. Add a dollop of butter on the top of the apple and wrap the foil parcel up securely.

6. Place the apple parcels on the barbecue and cook for 30 minutes, turning them with tongs to ensure an even bake.

7.Remove the parcel from the barbecue and open it, sprinkle the apple with the remaining walnut and sugar mixture and serve it with a dollop of fat free Greek yoghurt.


6. Place the apple parcels on the barbecue and cook for 30 minutes, turning them with tongs to ensure an even bake.

7.Remove the parcel from the barbecue and open it, sprinkle the apple with the remaining walnut and sugar mixture and serve it with a dollop of fat free Greek yoghurt.

Details

This post is in collaboration with simplyhike.